
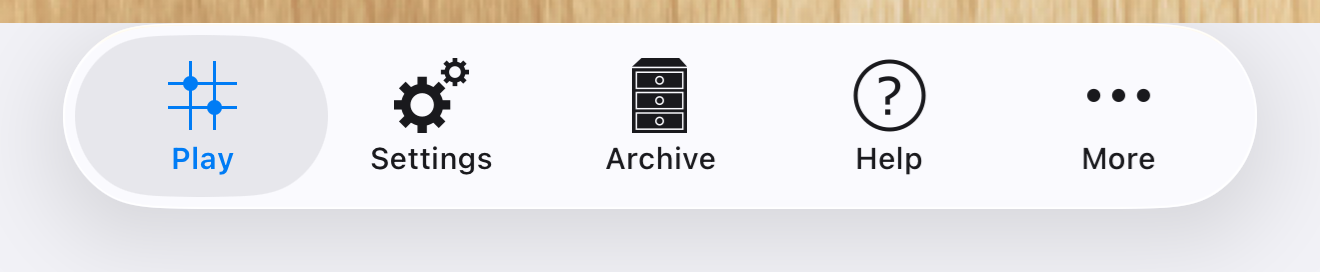
Tab bar
Little Go’s user interface consists of several distinct areas. A tab bar lets you navigate between those areas. Only one area can be visible at any given time.
The app tries to minimize the differences between the iPhone and iPad user interfaces, and where there are small differences this user manual usually does not specifically point them out. In the case of the tab bar, however, the differences are too big to be ignored.
On iPhone devices the tab bar is always located at the bottom of the screen, regardless of the version of iOS that is installed. The tab bar style may vary between iOS versions, though. For instance the illustration on the right shows the Liquid Glass style that Apple introduced in iOS 26.
The number of tabs exceeds the available space in the tab bar. The right-most tab therefore is always the “More” tab, which when activated shows a list of those UI areas that didn’t fit on the tab bar.
On iPad devices that have iOS 17 or older installed, the tab bar is located at the bottom of the screen, much the same as on iPhone devices, although not in the newer Liquid Glass style.
Although iPad devices have wider screens than iPhone devices, the number of tabs still exceeds the available space in the tab bar even on the widest devices. As on the iPhone, the right-most tab therefore is always the “More” tab, which when activated shows a list of those UI areas that didn’t fit on the tab bar.


The following screenshot is from an iPhone SE, showing all UI areas of the app at a glance.

- The Play area. This is the main focus area of the app where you see the Go board and play the game.
- The Settings area. Here you find many options for customizing the app’s behaviour. Read more.
- The Archive area. In this area you manage your saved games, or games imported from external sources. Read more.
- The Help area contains the in-app user manual, i.e. the content you are reading now.
- The “More” tab lists the user interface areas that did not fit on the tab bar. Tapping on a list entry calls up the user interface for that area in the same way as if it were a tab. As illustrated further up on this page, iPad devices that have iOS 18 or newer installed have an arrow-like indicator instead of a “More” tab.
- The Diagnostics area. Here you find functionality that you will, hopefully, use only in rare cases: Submit bug reports, crash report settings, check on the communication with Fuego, etc. Read more.
- The About area contains version and license information about the app and the software components and icons that were used to make the app.
- The Source Code area contains information where you can obtain the source code of Little Go.
- In the Licenses area you can read the actual license texts of the software licenses that were mentioned in the “About” area.
- In the Credits area you find acknowledgments of all project contributions and inspirations.
- Finally, the Changelog area contains an overview of what changed in each new version of Little Go.
- Tapping the “Edit” button lets you change which UI areas you want to see in the tab bar. Continue reading for more information. Note: iPad devices that have iOS 18 or newer installed don’t have this button.
Even on the smallest iPhones the tab bar always contains tabs for 4 UI areas, while the right-most tab is always reserved for the “More” tab. If you like you can change which of the areas are shown in the tab bar.
NoteThis capability of rearranging the tab bar items also exists on iPad devices that have iOS 17 or older installed. However, on iPad devices that have iOS 18 or newer installed, tab bar items cannot be rearranged.
After you press the “Edit” button (#12 in the annotation list in the previous section) the app presents you with a screen that looks similar to the one below (the styling may differ, but the screen elements should be the same):

- Drag one of the blue-tinted icons from the screen center towards the tab bar at the bottom. Release the dragged icon when you reach one of the existing tabs. The tab on which you dropped the icon will be replaced with the dragged icon. The tab which was replaced will now be available for dragging in the center area.
- You can also use drag & drop to change the order in which tabs appear.
- Tap the “Done” button when you are finished with editing the tab bar.